Making your own envelopes can be a fun and creative way to add a personal touch to your letters during National Letter Writing Month. Here are some steps you can follow:

-
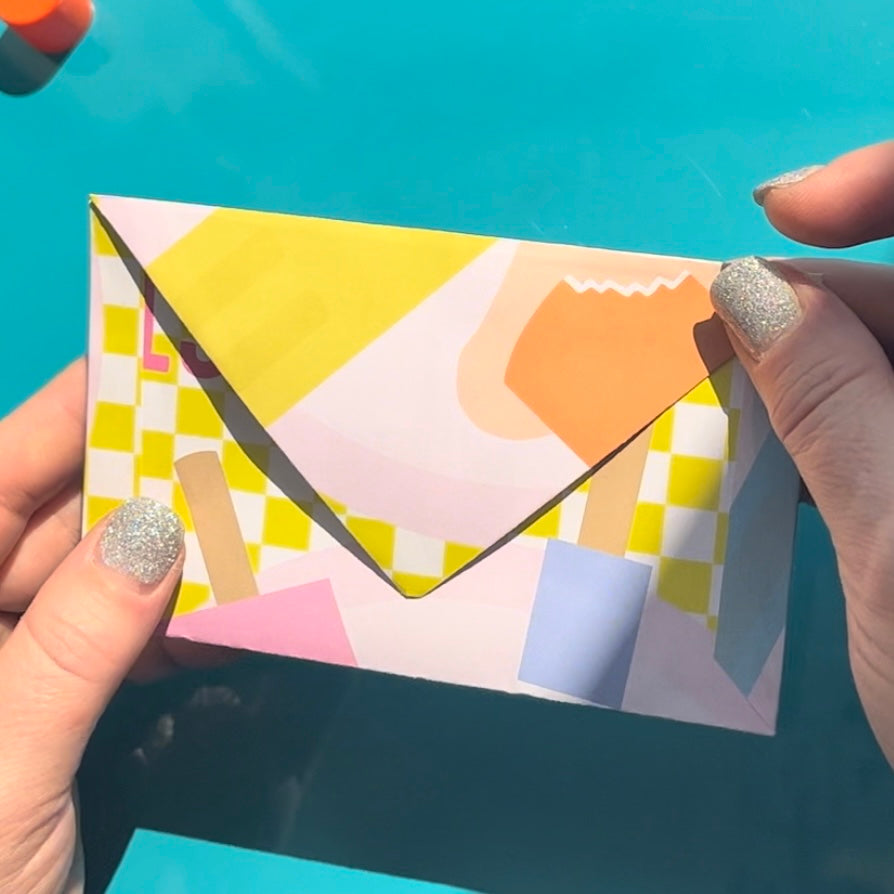
Choose your paper: You can use any type of paper you like! I'm using pages from old planners I've had laying around.

-
Cut the paper to size: You can measure if you'd like, but I did not. I just fold the paper to the size of the envelope.
-
Fold the paper: Fold paper along both of the long edges (this determines the width of the envelope. Next, I fold in the corners to make the flap/point of the envelope. Then, fold the paper widthwise towards the flap you just made, but leave a bit of space for flap to fold over.


-
Cut & Glue: I like to make cuts at the bottom crease, fold out the sides, glue the sides down, then fold the two flaps you have at the sides over (I like to cut the corners to make it look a bit nicer). I also make cuts up by the flap, this is also optional. Cut spots are circled in green.


-
Almost Done: Glue the folded parts of the envelope and you are done! If you used paper with a pattern or a dark paper, you may need to glue a piece of paper to the front to write in the addressees' info (or use a label sticker).


-
Address and send: Now your envelope is ready to use! Write the address and return address on the envelope, and add postage before sending it on its way.
Have fun making your own envelopes and adding a personal touch to your letters during National Letter Writing Month!
Enjoy your weekend & have fun! - Lesley


